The days of Internet Explorer are gone, and why keep a browser you no longer need.
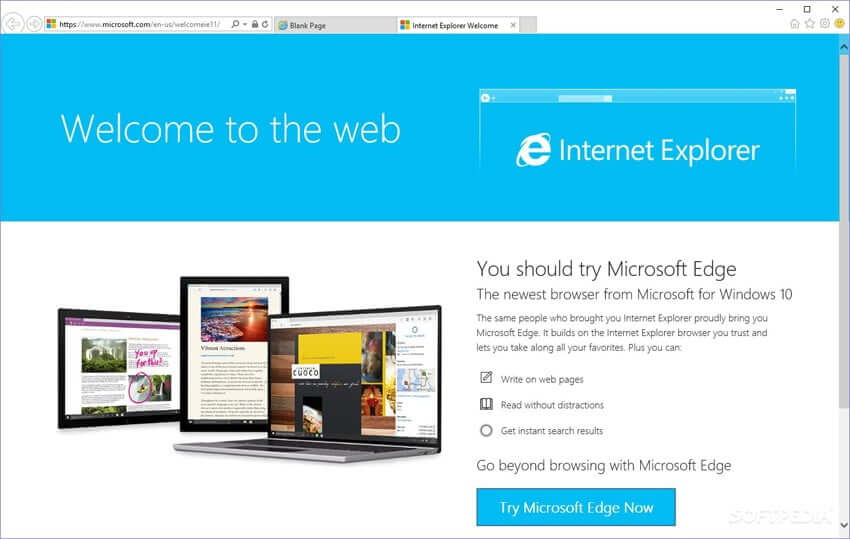
The new Microsoft Edge comes as the default browser on Windows 10, but still, Internet Explorer is included in the pack.
Now many websites don’t support IE, and developers have already stopped maintaining their websites for Internet Explorer.
So there’s no reason to keep using this old browser as support, for it has already ended.
If you no longer want to keep Internet Explorer, then follow this guide to remove the browser on your computer.
Also read: How to enable virtualization on Windows 10
Delete Internet Explorer from Windows 10
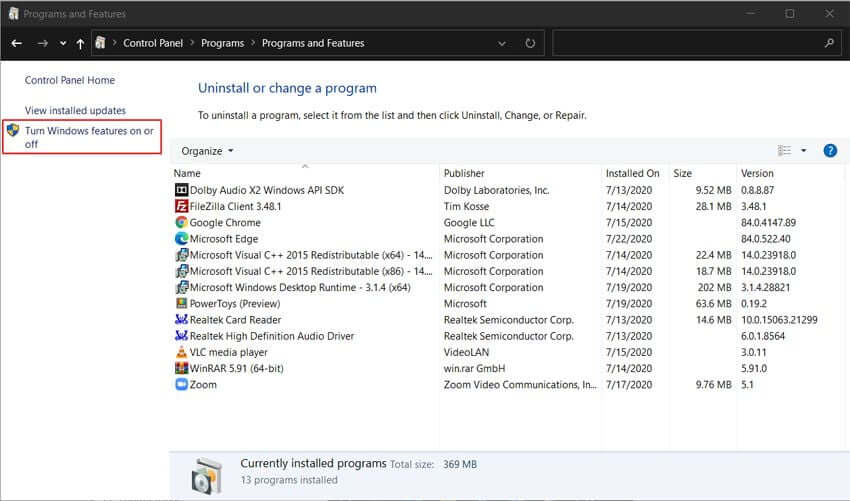
- Click on Start menu icon and search for Control Panel.

2. Open Control Panel, go to Programs > Programs and Features and then click on Turn Windows features on or off.
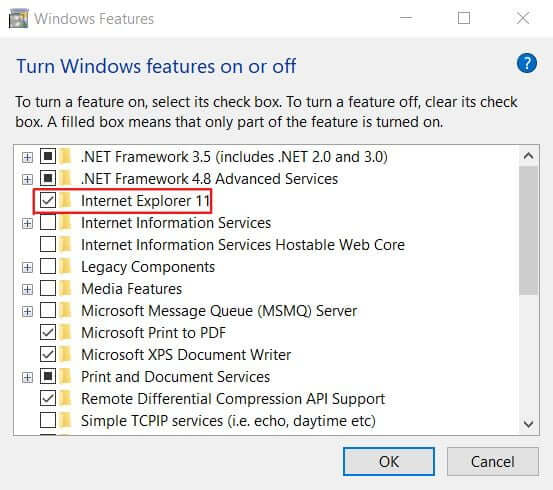
3. In the Windows Features window, search for Internet Explorer 11 and uncheck the box next to it. A warning message will pop up notifying you that turning off Internet Explorer might affect other Windows features and programs – Click the Yes button to confirm. Now click, OK.
Also read: How to change the default search engine in Microsoft Edge
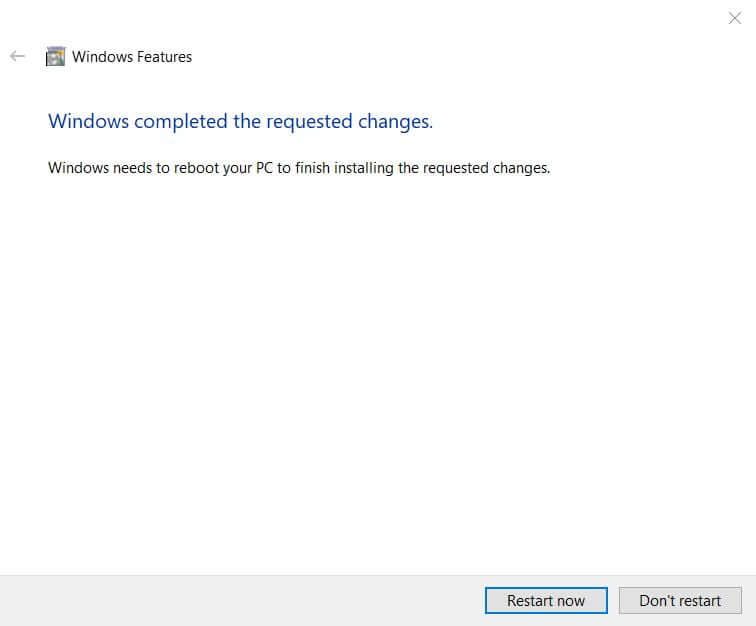
4. Click Restart now button.
Once your computer boots up, Internet Explorer will be removed. Now Internet Explorer won’t show up in the searches; instead, it will display Microsoft Edge upon searching “Internet Explorer” in the Start menu.
Also read: How to Speed Up Windows 10 and Improve Performance
Now for some reason, if you want to restore the browser, then follow the same instructions and check the Internet Explorer option on step 3. After a restart, Internet Explorer will be restored.
Comments