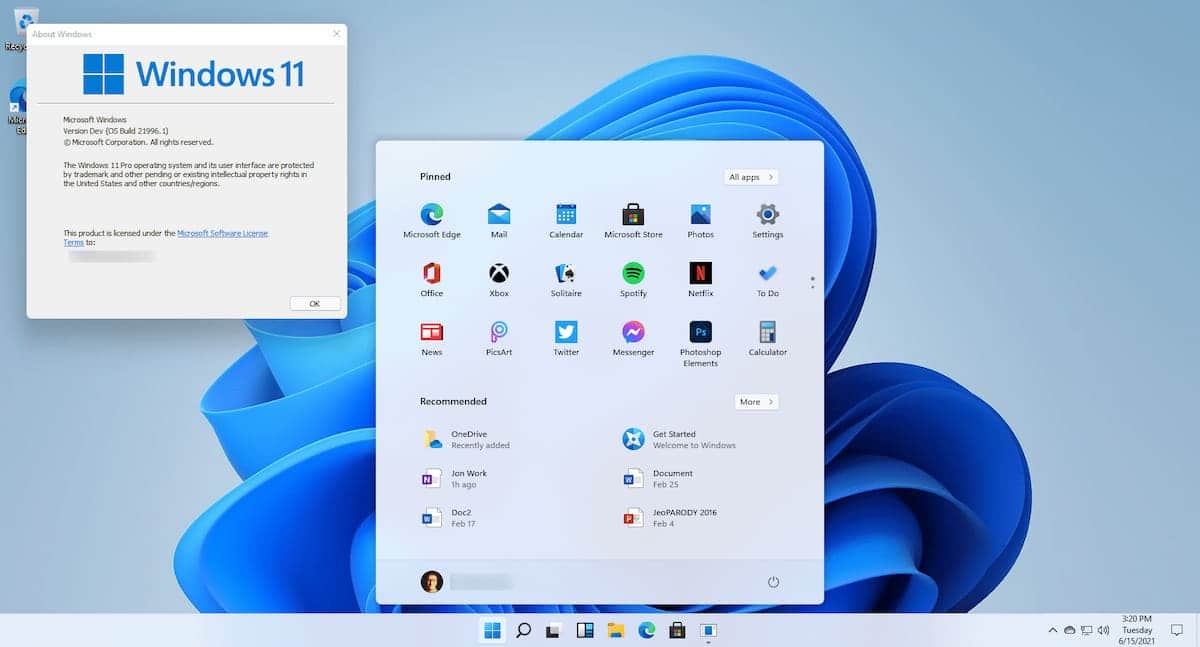
Windows 11 has created a lot of buzz on the internet. All this hype is worth it as the new Windows OS has brought new and improved design elements like a new start menu, a new taskbar, new wallpapers, and many more.
Now with all this chatter about Windows 11, let us figure out how to download Windows 11 and do a clean installation on our computer.
A site known as UUP dump provides features using which we can download the Windows 11 ISO file.
Also read: How to install Windows 11 on VirtualBox
There are two options here: either you can directly install the operating system in a virtual machine or create a bootable install USB flash drive to do a clean install on your computer.
Table of Contents
How to download Windows 11 ISO file
Microsoft has released the Windows 11 disk image (ISO file), which can be used to install the OS on your computer. Or you can also use the Windows 11 installation assistant to update your PC easily. However, for this tutorial, we will use the ISO file to create a bootable USB flash drive.
Just download the ISO file and follow the steps mentioned below.
Making a bootable USB drive to install Windows 11
As mentioned earlier, there are two ways in which you can install Windows 11. Either you directly install it on a virtual machine, or you will need to make a bootable USB flash drive to perform a clean install.
Here is an article to learn how to make it: How to make a bootable USB flash drive
How to install Windows 11
With all said and done, let us finally learn how to install windows 11 on our PC.
Here are step-by-step instructions that you can follow:
1. Boot your PC with the USB installation drive.
(to boot from the USB, you might have to re-arrange the boot order in BIOS or hit a function key)
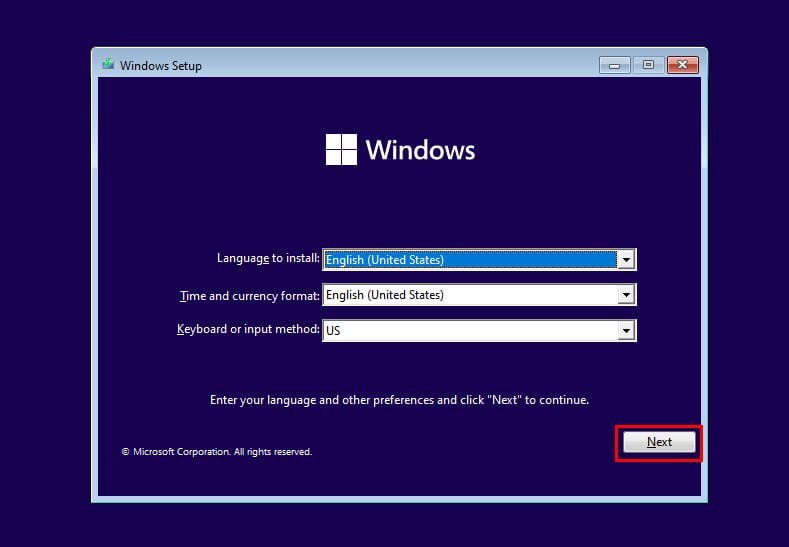
2. Select the language of your preference and click Next.
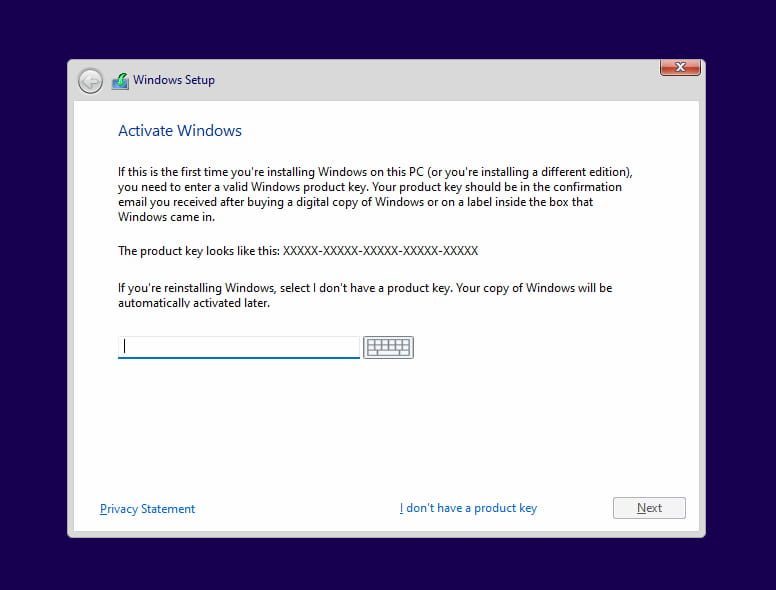
3. Either click on “I do not have a product key” or enter a key that is valid. Then click Next.
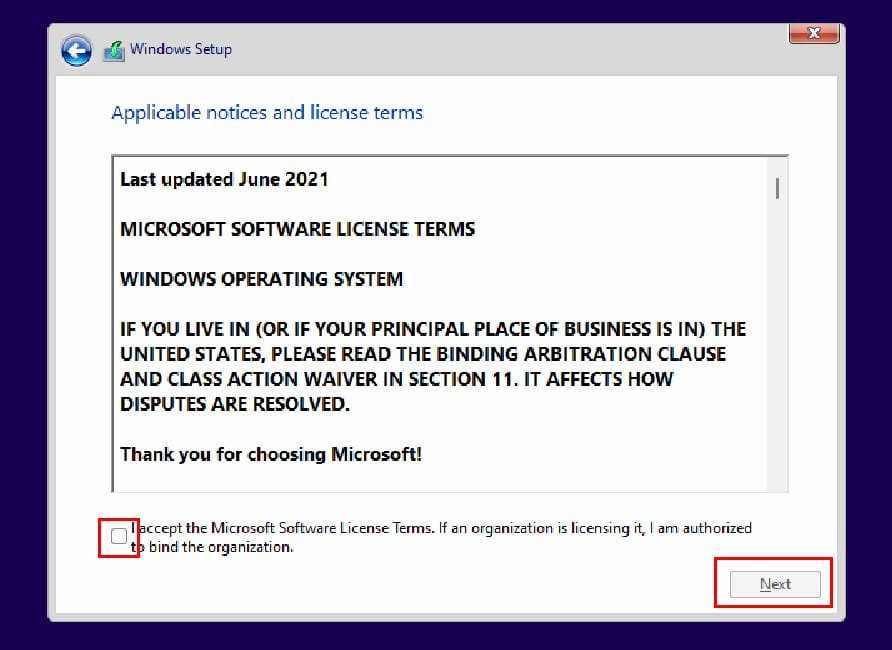
4. Accept the license agreement and click Next.
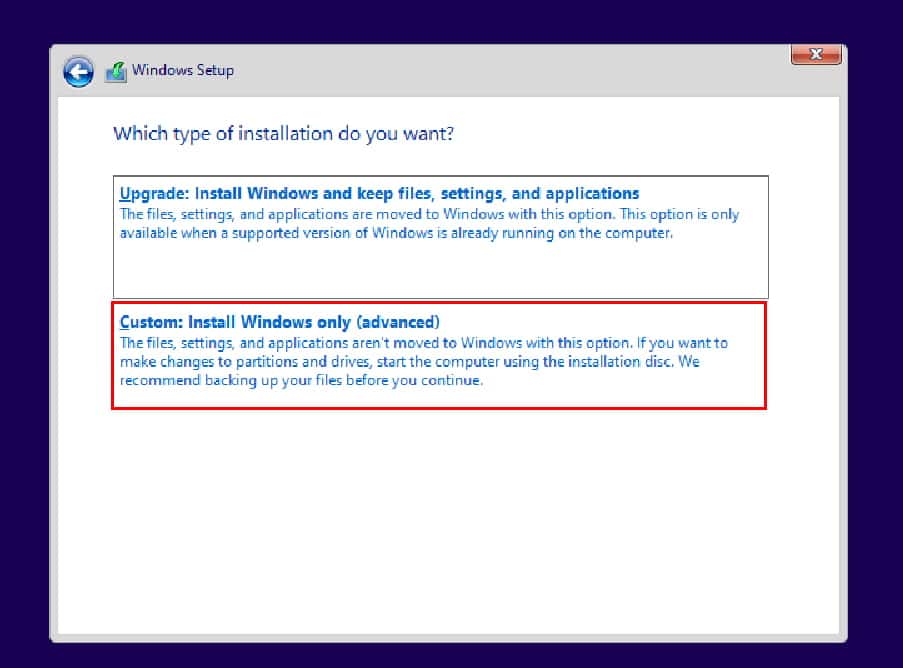
5. Among the available options, select Custom Install.
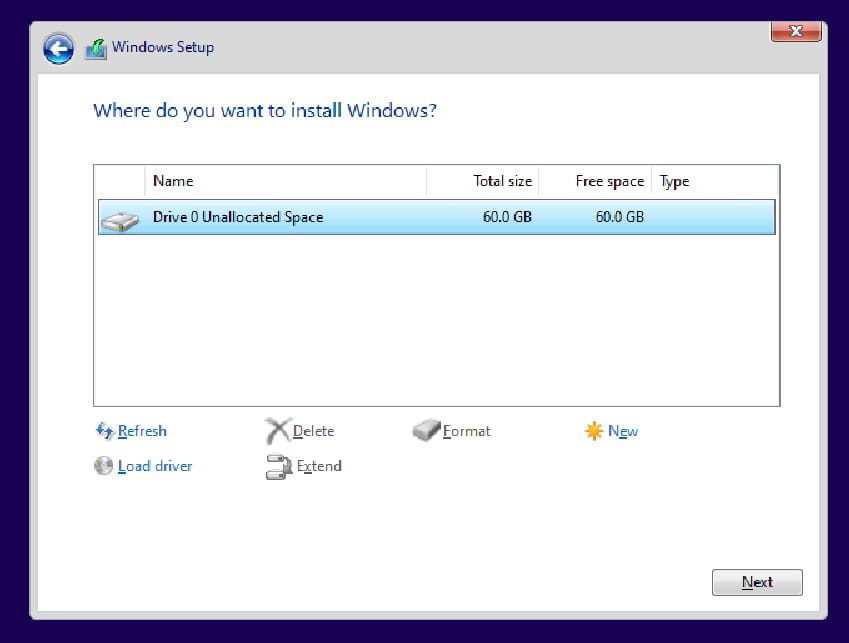
6. Select the installation drive and click Next. It is recommended that you format the drive before installing Windows on it.
(The installer may reboot here as it will copy some files)
7. Choose your region and click Next.

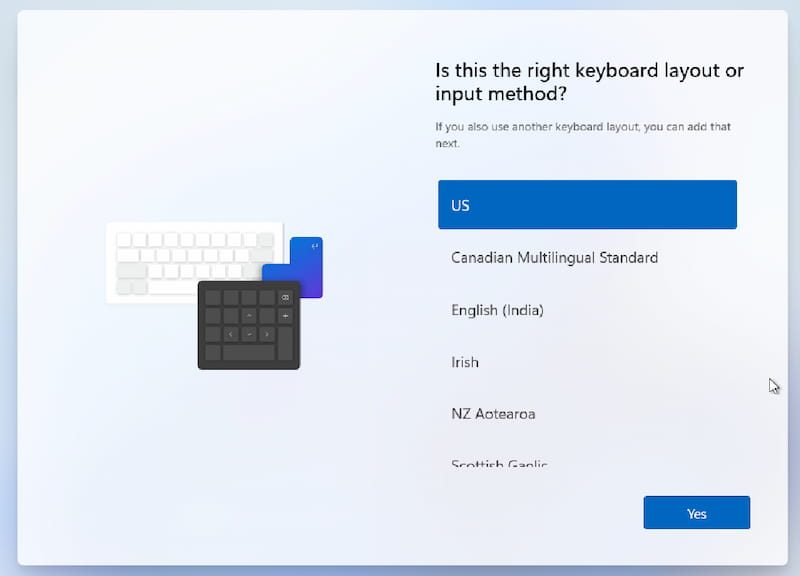
8. When asked, select the keyboard layout.
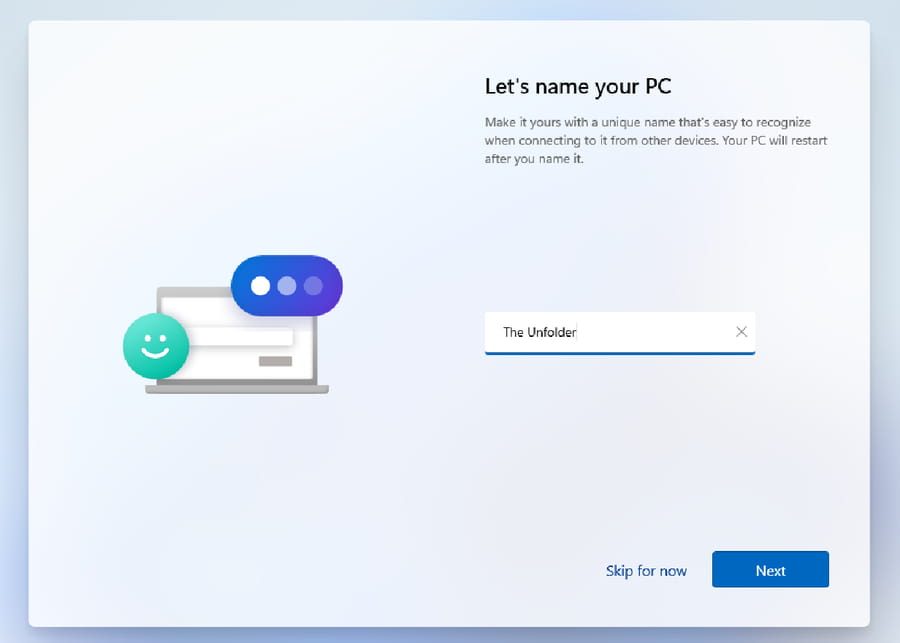
9. Give your PC a name and click Next.
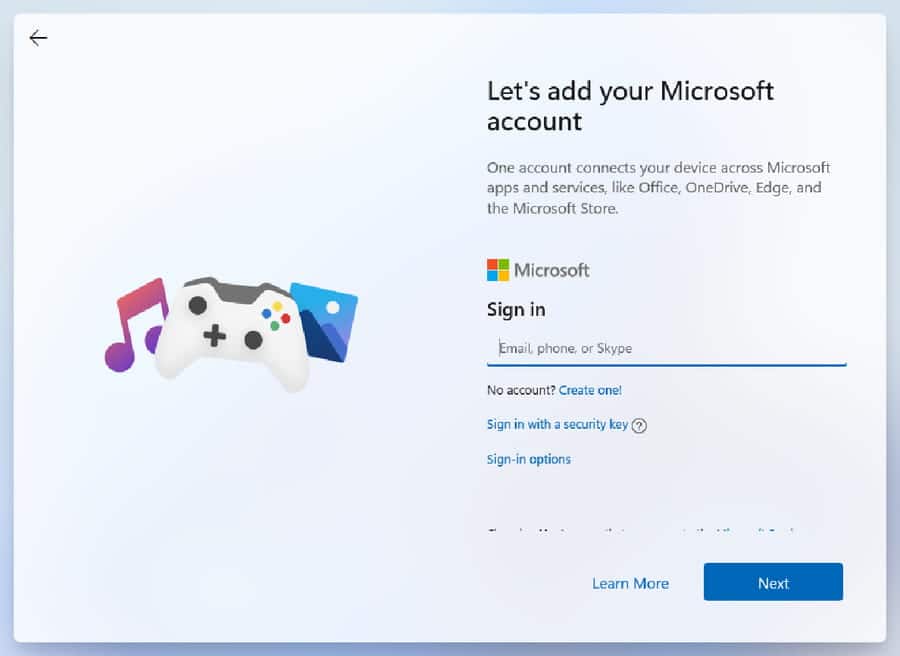
10. Sign in to your Microsoft account. To achieve quick logins, you can create a PIN.
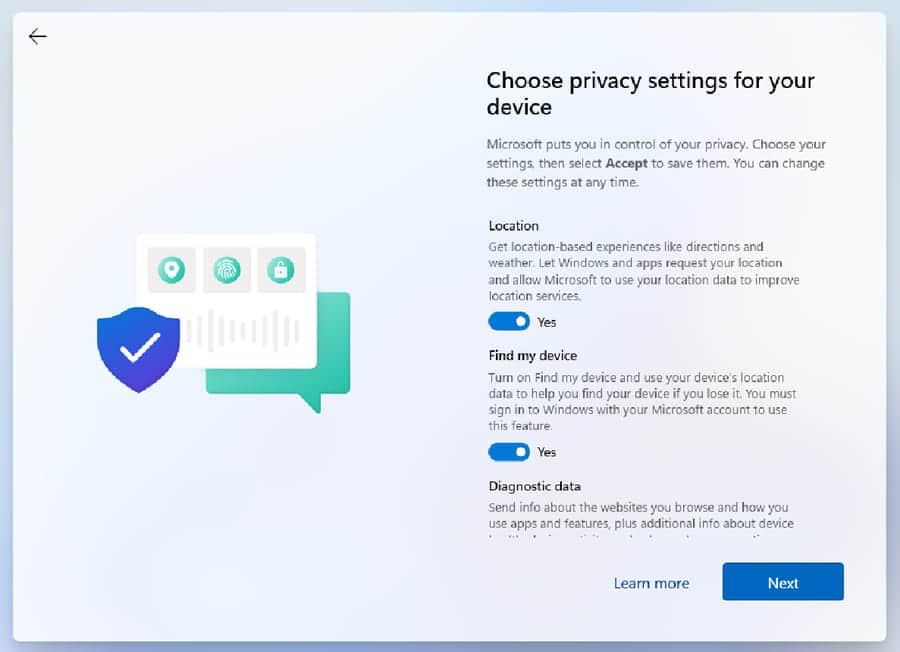
11. Change the privacy settings according to your preference. Then click Next.
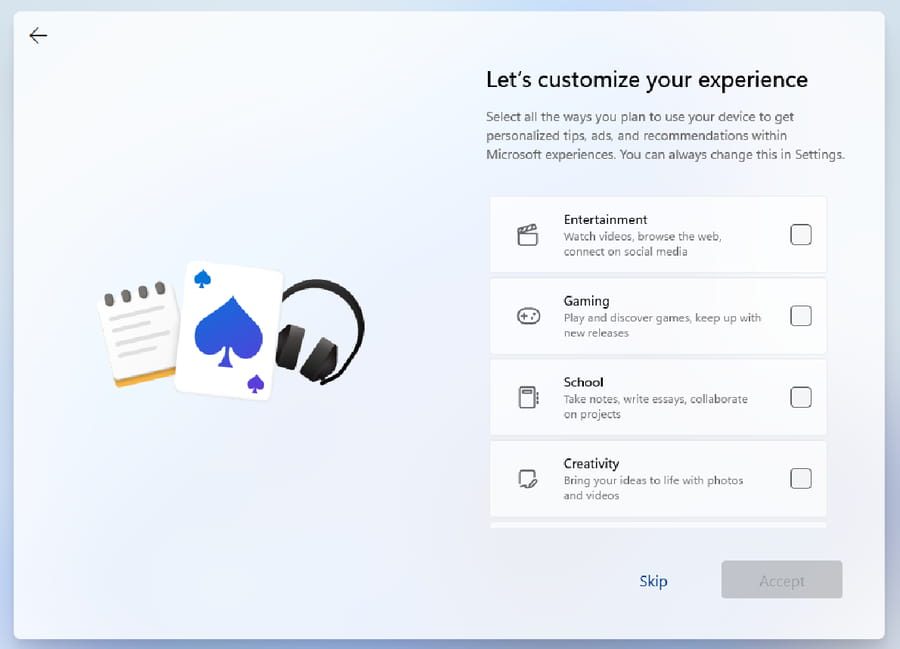
12. You can either check the boxes of your interests for a customized experience or simply click Skip.
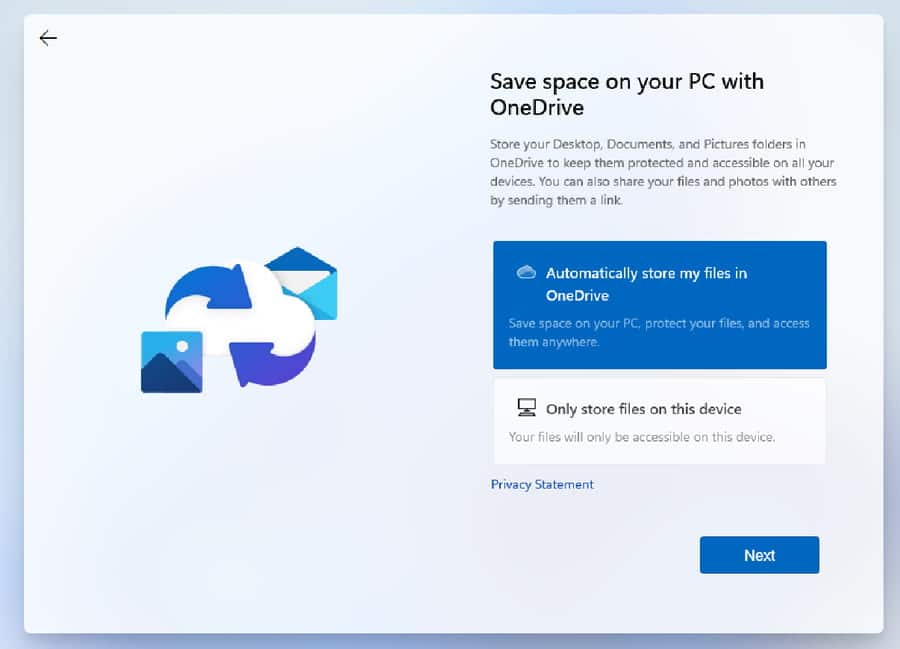
13. Select OneDrive or Only store files on this device.
14. Now, you may have to wait for a few minutes to complete the Windows 11 installation.
With this, within a couple of minutes, Windows 11 will be successfully installed on your PC. Once it is installed, you will be able to see the Windows 11 desktop. Now you are free to experiment and explore the all-new Windows 11 on your PC.
Comments