Windows 11 has brought with it some new and exciting features. It comes with new design elements, a new taskbar, a new start menu, new wallpapers, and more. This has created a great deal of intrigue amongst tech enthusiasts. Now with all this chatter about Windows 11, let us figure out how to get our hands on it.
In this article, we will learn how to install Windows 11 on VirtualBox. Here is a step-by-step tutorial to achieve your own Windows 11 virtual machine.
Also read: How to download Windows 11 ISO file & do a clean installation
Table of Contents
Setup VirtualBox
First things first, we need the VirtualBox on our PC to set up Windows 11. You can visit virtualbox.org to get the package and install the software. VirtualBox is available for a variety of operating systems such as Linux, Windows, macOS, Solaris, etc., the links for which can be easily found on their website.
Once you download the executable setup file, double-click on it and follow the instructions provided on the screen, this way, you will have VirtualBox running on your PC in no time.
Also read: Where are iPhones made?
Install VirtualBox extension pack
The VirtualBox extension pack helps us to improve the features of the virtual machine. In addition to the basic functionalities, it provides some extra features that can come in handy. By simply having the plugin, you can enjoy a plethora of unique features. Some features include drag and drop, mouse Integration, internet connectivity, USB support, etc.
Create a Virtual machine
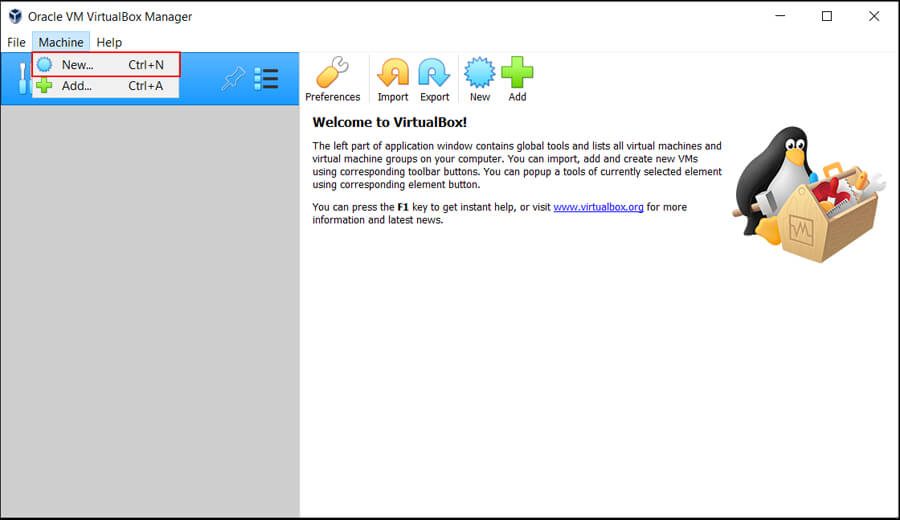
1. Launch VirtualBox that you just installed.
2. Click on the New button in the Machine menu.
3. Give the virtual machine a name such as “Windows 11.”
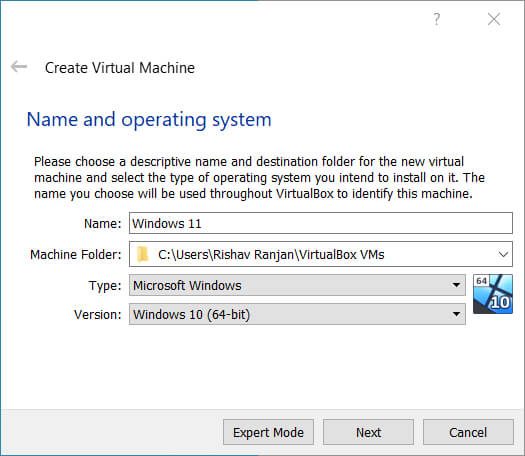
4. Select the type “Microsoft Windows” + version “Windows 10 64-bit “. Then click Next.
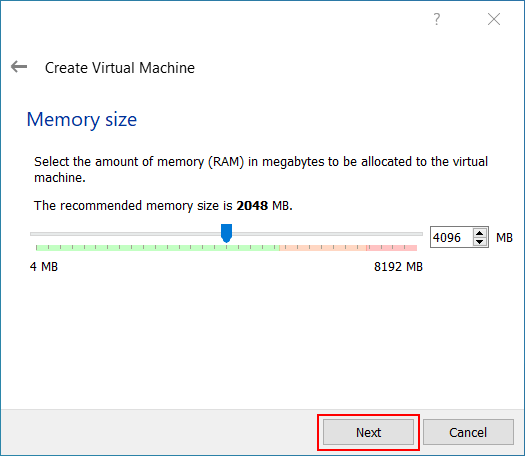
5. Set the memory to 4096 MB by using the slider.
6. Now, create a virtual hard disk. Next, select VDI and then choose Dynamically allocated.
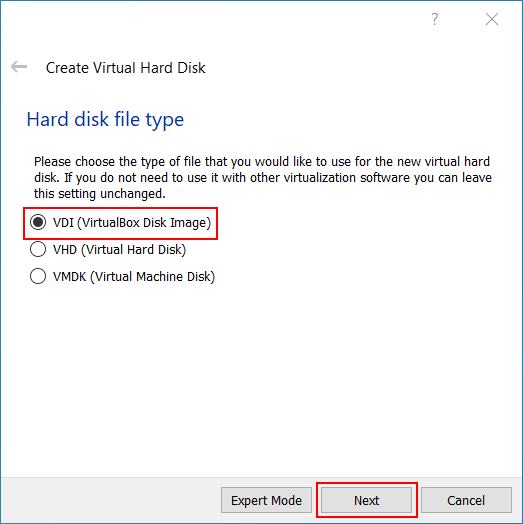
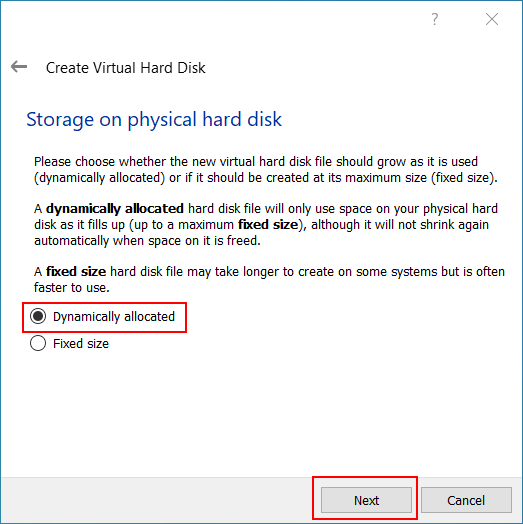
7. Assign a minimum of 64 GB space or more as per your use.
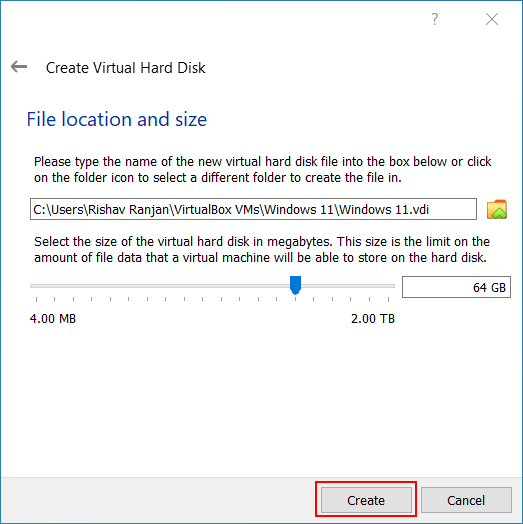
8. Press Create.
Also read: How to enable virtualization on Windows 10
Setting up Virtual machine
You can see the Windows 11 Virtual machine on the left side panel of VirtualBox once you have created it.
1. Select the Windows 11 Virtual machine.
2. Click on Start.

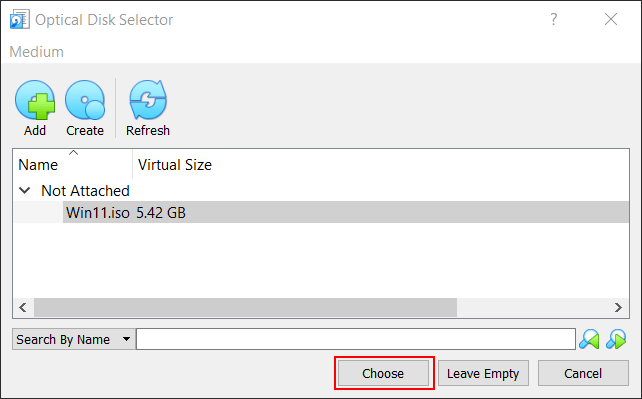
3. Click on the folder icon to select an ISO image file.
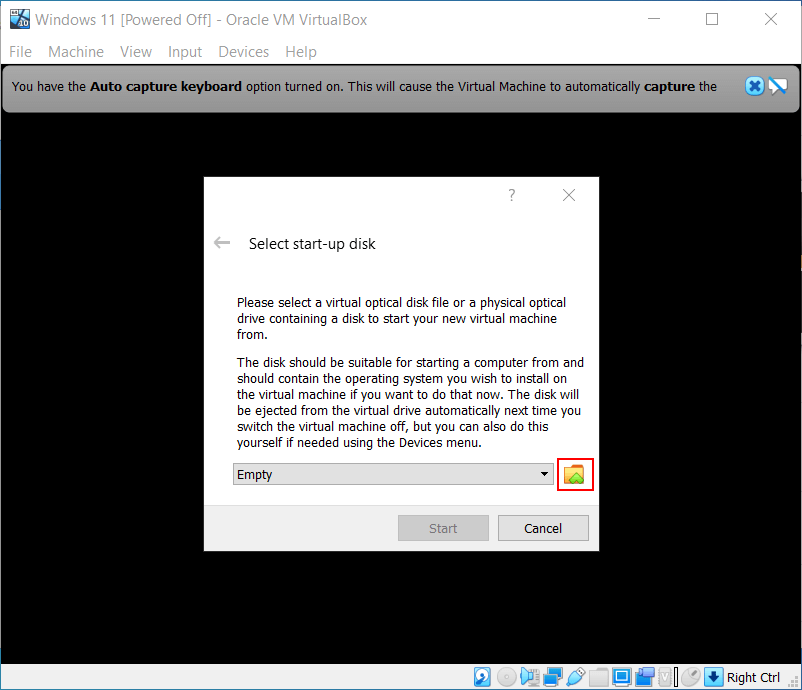
(you will see “ISO image selector” on your screen)
4. Click Add to open the file manager.
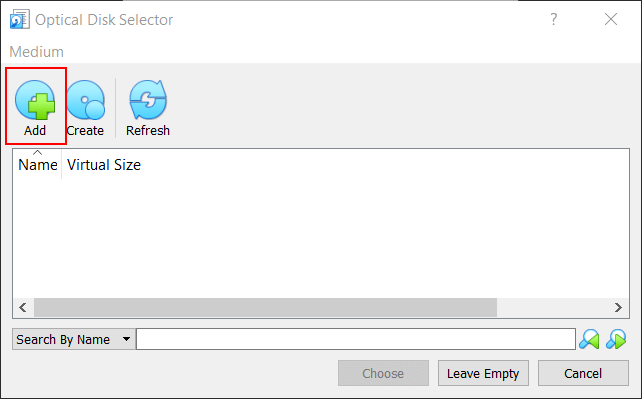
5. Select the Windows 11 ISO file. If you don’t have the ISO file, go to this article to download Windows 11 ISO file.
6. Click Choose.
7. Click the Start button. This will activate the installation process.
Also read: How to delete files and folders using Command Prompt
Windows 11 VirtualBox installation
We are reaching the end of our installation process. Within a few steps, we will finally have a running Windows 11 virtual machine.
1. Select language and then click on the Install now button to start the installation process.
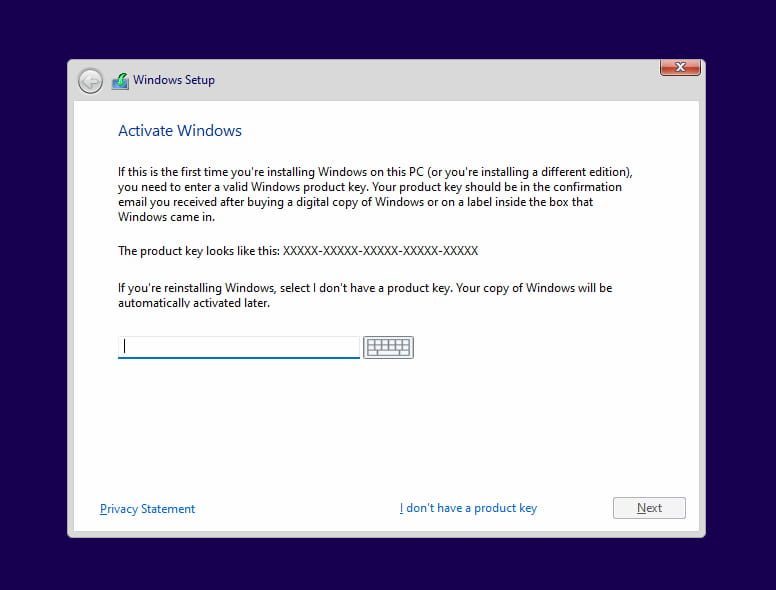
2. Click on “I do not have a product key” because we want to test the operating system.
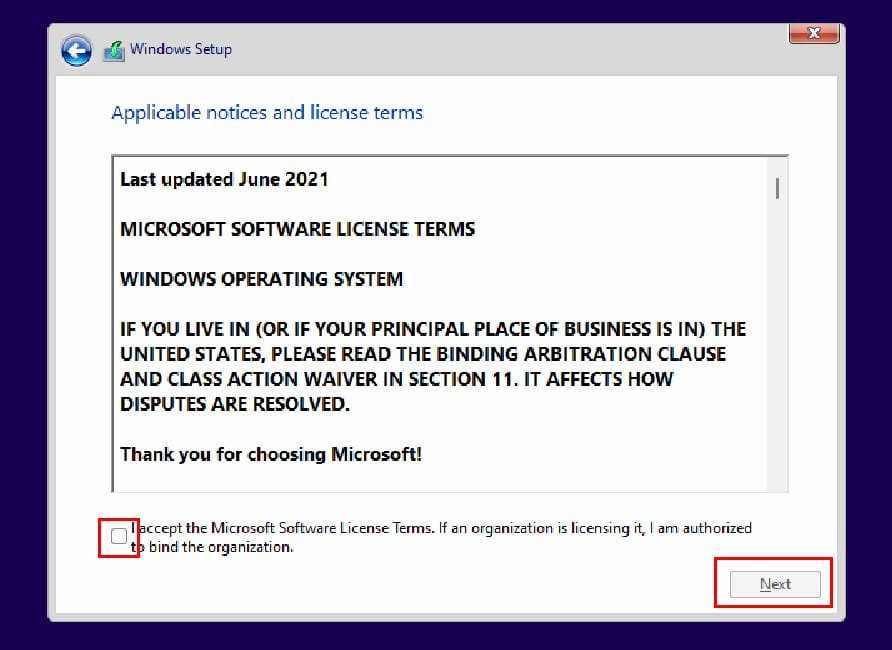
3. Accept the license terms and click Next.
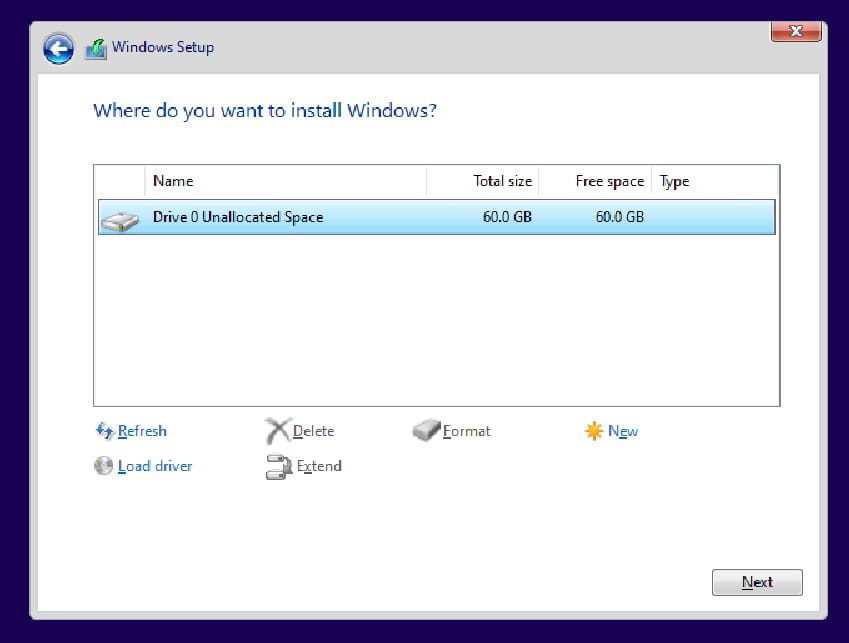
4. Among the two options, select the latter, Custom: Install Windows only (advanced).
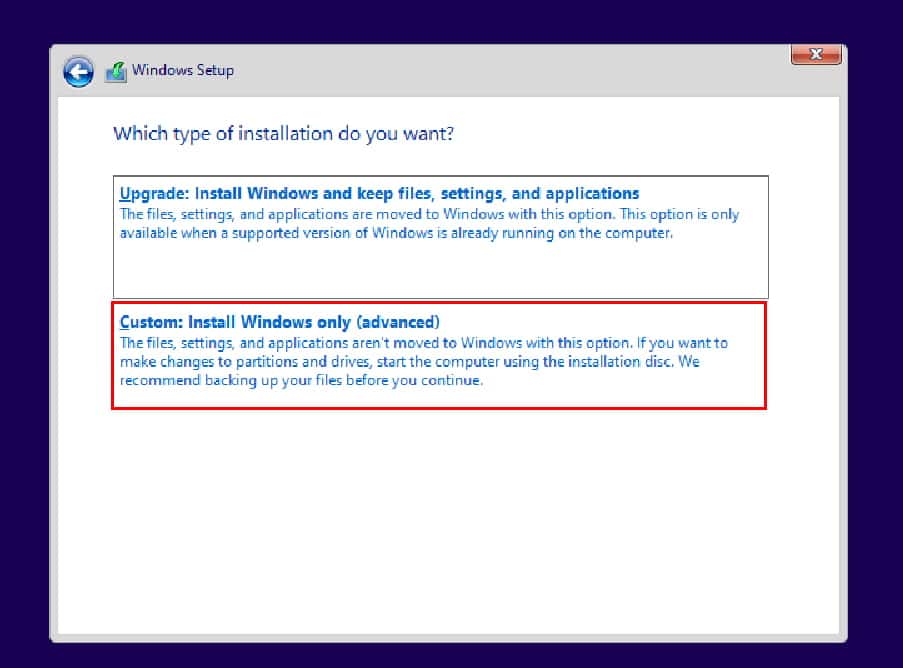
5. Click the Next button to format the virtual drive and install Windows 11 on your virtual machine.
Following the simple steps mentioned above, you can experience the latest Windows 11. Downloading and installing the new Windows OS on a virtual machine using VirtualBox is the best way to do it. Using VirtualBox can help you achieve a smooth download and install process without putting risk on your host computer.
Also read: 10 best video editor apps for Android
Now that you have installed Windows 11 on a virtual machine, you can try out all the new features. Experiment with it and be one of the first few people to get the gist of Windows 11.
Comments