Google Photos app comes with a lot of useful features to manage photos and videos on your smartphone. It lets you organize, edit, share and create cloud backups of your data.
Recently Google has added a new feature called Locked Folder, which lets you hide your photos and videos. Currently Locked Folder option is only available on Google Pixel devices. But the company plans to expand it to other Android and iOS devices as well.
Also read: Best photo editing apps for Android
This feature was first announced in May 2021 at the Google I/O event.
Table of Contents
What do you need to use Locked Folder in Google Photos?
Here are the requirements for using the Locked Folder option in Google Photos:
- A supported Google Pixel phone – Pixel 3/XL, Pixel 3a/XL, Pixel 4/XL, Pixel 4a/5G, or Pixel 5.
- Updated Google Photos app.
- A Google account that’s managed by you.
Set up Locked Folder in Google Photos
- Open the latest version of the Google Photos app.
- Select the photos and videos you want to store in the locked folder.
- At the top right, tap More > Move to Locked Folder.
- Tap Move.
Also read: 10 best video editing apps for Android
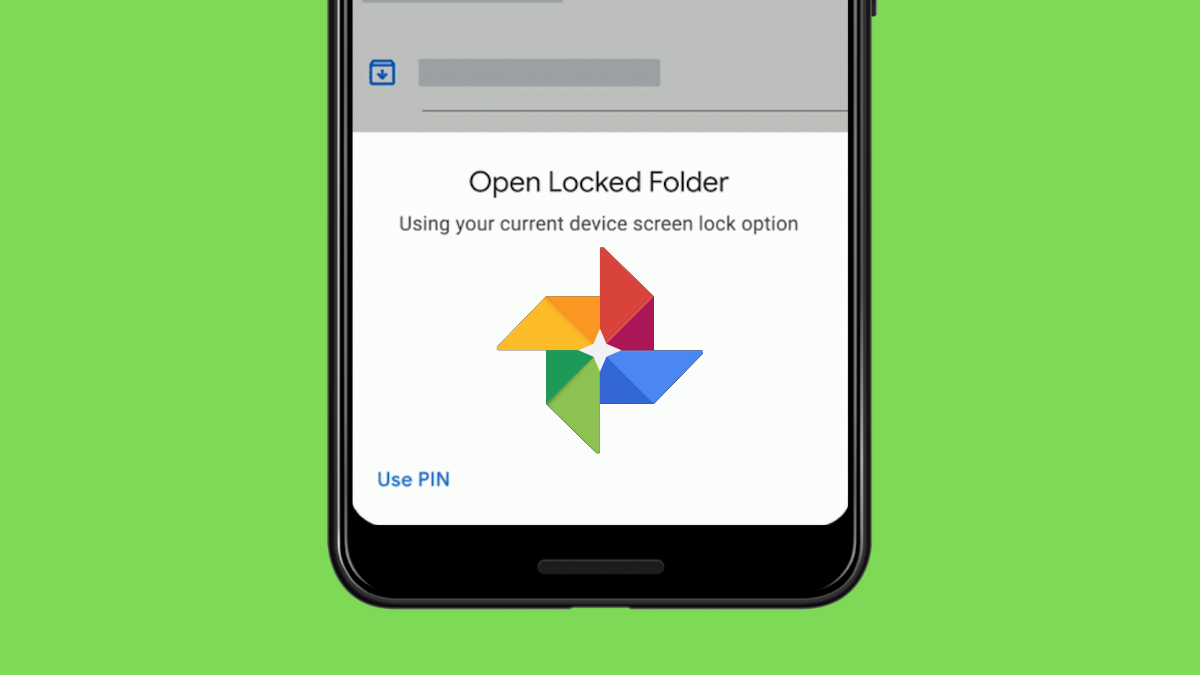
How to open Locked Folder in Google Photos
To open the Locked Folder in the Google Photos app, go to Utilities in the Library section. From here, you can access the locked folder by entering your pattern, pin, password, or through biometric verification such as fingerprint or face unlock.
Disadvantages of using Locked Folder
Here are the disadvantages of using Locked Folder in Google Photos:
- You can not share locked content directly.
- You can not edit images in a locked folder.
- Locked items can not be backed up.
- You can not view locked photos on any other device.
Comments